For my second play-test I selected the third scenario/'mission' from the book. I made this choice because I wanted to see how the rules for armoured vehicles worked.
In this scenario the American forces had:
- 1 x Sherman M4A2 Tank + 1 Lieutenant
- 2 x Sherman M4A2 Tanks
- 1 Infantry Squad + 1 Lieutenant
- 1 Infantry Squad
The Germans forces included:
- 1 x Panzer IV Tank + 1 Lieutenant
- 1 x Tiger Tank
- 1 Grenadier Squad + 1 Lieutenant
- 1 Grenadier Squad
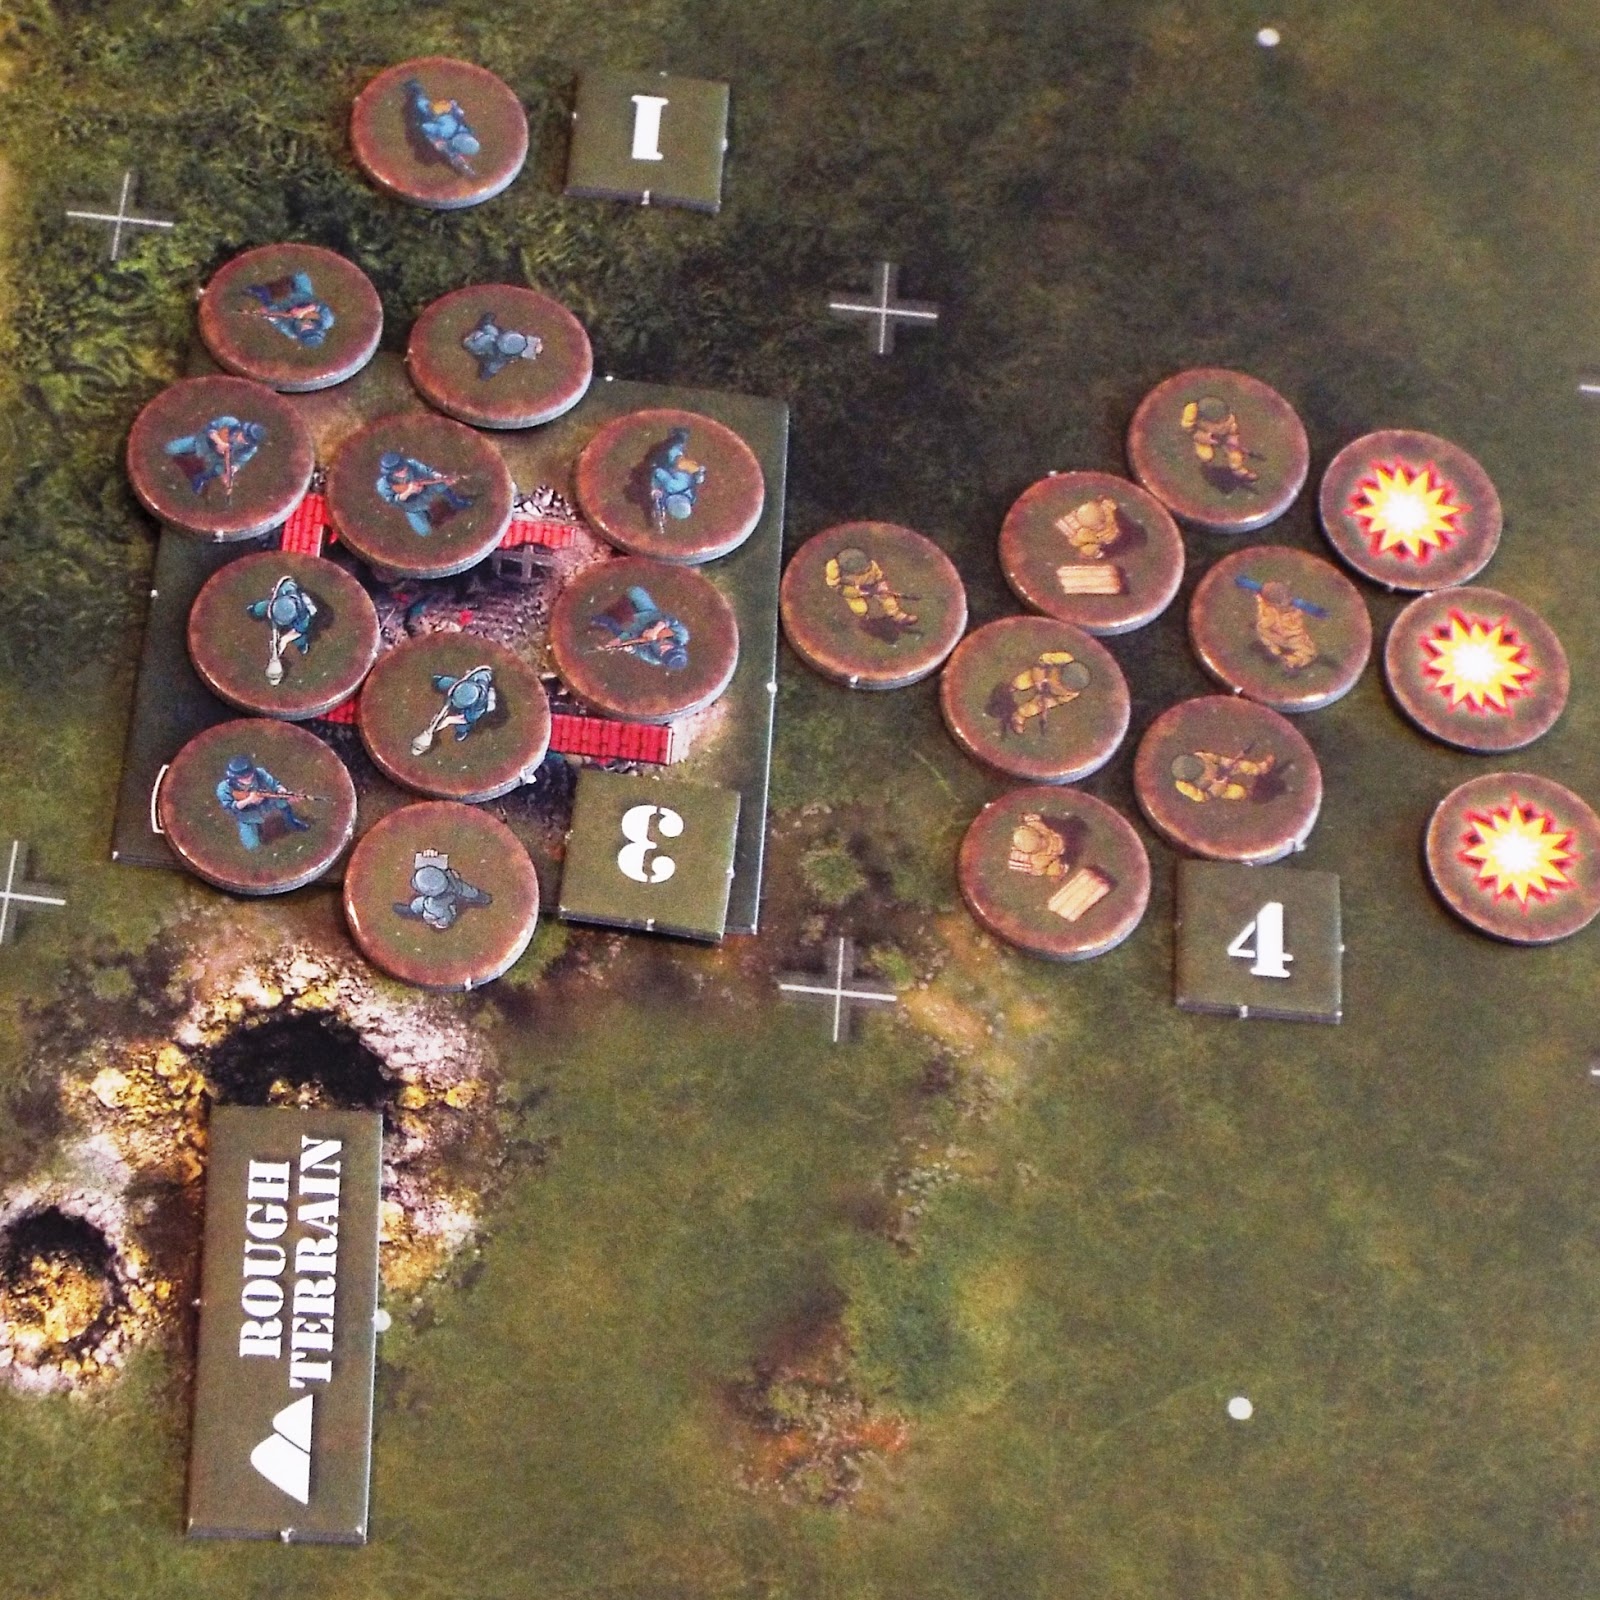
Starting Positions
Each side deployed in their respective Deployment Zones.
Turn 1
As both sides have two officers, one of whom can expend two Command Cards, both sides are dealt three Command Cards.
The Germans threw the highest D6 die score and moved first. They were dealt the following Command Cards:
- 'Either 1 Infantry Unit that is Dug In may Fire with 1 extra D6 OR 1 Artillery Unit may Fire with 1 extra AT D6.'
- '2 Vehicle Units may Move once each and then Fire once each.'
- '1 Unit may Fire during an enemy Move. This Fire must target the enemy Unit that Moved.' (Interrupt Command Card)
As the Germans have no Units that meet the criteria of the first of their Command Cards, that was discarded.
Both the Tank Units moved ...
... and then fired.
As a result, the leading Sherman M4A2 Tank (+ 1 Lieutenant) Unit was hit and had its armour penetrated twice. Despite this, the Unit passed its Morale Check.
The Americans were dealt the following Command Cards:
- '1 Vehicle Unit may Move once, and then 1 Infantry Unit may Move once then Fire once OR 1 Infantry Unit may Move then Fire with 1 extra AT dice for each AT weapon it carries.'
- '2 Vehicle Units may Move once each and then Fire once each.'
- 'Either an Infantry Unit regains up to 2 men OR A Vehicle Unit regains 1 Hit Dice.' (Interrupt Command Card)
The Americans immediately used the Interrupt Command Card to restore part of the damage already suffered by the Sherman M4A2 Tank, and then moved that Tank Unit and one of the others forward.
They then opened fire on the nearest German Tank Units ... and inflicted damage on both! (Neither German Tank Unit failed their Morale Test.)
At this point the Germans played their Interrupt Command Card, and the Tiger Tank Unit fired at the Sherman M4A2 Tank (+ 1 Lieutenant) Unit, and damaged it yet again. Although damaged, the Unit still manage to pass its Morale Check.
The Americans then moved their remaining Tank Unit and left-hand Infantry Unit forward. The latter then fired at the German Panzer IV Tank Unit, but did it no damage.
Turn 2
For a second time the Germans threw the highest D6 die score and moved first. They were dealt the following Command Cards:
- '1 Infantry Unit may Move using 3 times its normal move. If the Unit is targeted by Interrupt Fire or Stay Frosty, it does not receive a Save OR Move 1 Vehicle with +2 and 1 free 90 degree turn.'
- 'Either 2 Infantry Units may Fire then Move with +1 OR 2 Vehicle Units may Fire then Move.'
- 'Play on a pinned or retreating Unit after resolving any set of Morale Checks for that Unit. Automatically rally the Unit to A-OK.' (Interrupt Command Card)
The Germans decided to fire with both their Tank Units and then to move them.
The Tiger Tank Unit fell back slightly after having fired at the Sherman M4A2 Tank (+ 1 Lieutenant) Unit ...
... which it hit, damaged, and pinned.
The Panzer IV Tank Unit moved forward and turned to engage the left-hand Sherman M4A2 Tank Unit ...
... which it also hit and damaged. (The American Tank Unit did not fail its subsequent Morale Check.)
The Germans then moved one of their Grenadier Units forward to support the Tank Units.
(At this point I realised that in error I had moved the German Tank Units and then fired rather than 'Fire then Move' as the Command Card stipulated. I decided to leave matters as they were, but to try to pay better attention to what was printed on the Command Cards in future!)
The Americans were dealt the following Command Cards:
- '2 Infantry Units may Fire then Move with +1 OR 2 Vehicle Units may Fire then Move.'
- '2 Vehicle Units may Fire once each.'
- '1 Unit may Move during an enemy Move. The Unit may not declare an Assault.' (Interrupt Command Card)
The Americans chose to fire with their their left-hand and central Sherman M4A2 Tank Units at the German Panzer IV Tank Unit ...
... but neither managed to damage the German Tank Unit.
The Americans then chose to 'Fire and Move' with the central and right-hand M4A2 Tank Units at the German Tiger Tank Unit ...
... which they both hit. As a result of failing its Morale Check, the Tiger Tank Unit became pinned.
The central and right-hand M4A2 Tank Units then moved forward in order to threaten the very exposed German Grenadier Unit ... and in order to occupy the Objective.
As the Interrupt Command Card was unusable, the turn ended.
Turn 3
The Americans threw the highest D6 die score and moved first. They were dealt the following Command Cards:
- '2 Vehicle Units may Fire once each.'
- '1 Unit may Move with +2, and then Fire Once.'
- '1 Unit may Move during an enemy Move, but must end its Move further away from the Unit's nearest enemy. The Unit may not declare an Assault.'
The central and right-hand M4A2 Tank Units both fired at the Tiger Tank Unit ...
... which they hit and destroyed!
The left-hand American Infantry Unit moved forward, and fired at the German Grenadier Unit immediately in front of it.
They inflicted 4 casualties, and the German Units became pinned when it failed its Morale Check.
The Germans were dealt the following Command Cards:
- '2 Vehicles may Fire once each.'
- '1 Infantry Unit that is Dug In or in cover may Fire with 1 extra D6 OR 1 AT Unit may Fire with 1 extra AT dice.'
- 'Either 1 Infantry Unit with Rifles may Move then Fire using Rifles. Re-roll once for each miss when firing at a target within 2 squares OR 1 vehicle Unit may Move once and Fire all its weapons once each.'
The German Panzer IV Tank Unit fired at the central M4A2 Tank Unit ...
... which it hit and pinned. (The M4A2 Tank Unit failed its Morale Check.)
The unpinned German Grenadier Unit moved into the rough terrain to its right, and fired at the nearby American Infantry Unit ...
... on which it inflicted 6 casualties, causing it to be pinned when it failed its Morale Check.
As the remaining Command Card was unusable, the turn ended.
Turn 4
The Germans threw the highest D6 die score and moved first. They were dealt the following Command Cards:
- '1 Infantry Unit may Move using 3 times its normal move. If the Unit is targeted by Interrupt Fire or Stay Frosty, it does not receive a Save OR Move 1 Vehicle with +2 and 1 free 90 degree turn.'
- '1 Infantry Unit may Fire once then Move with +2. Rough Terrain cost 1 to enter OR 1 Vehicle Unit may Move and Assault. It gains +1 to Morale Checks during this Order.'
- 'Either an Infantry Unit regains up to 2 men OR A Vehicle Unit regains 1 Hit Dice.' (Interrupt Command Card)
Knowing that they were losing the battle, but wanting to ensure that they were able to withdraw to fight another day, the Panzer IV Tank Unit turned and moved away from the American Tanks.
The unpinned German Grenadier Unit fired at the nearby American Infantry Unit ...
... and wiped it out.
They then withdrew towards their Deployment Zone.
The Americans were then dealt the following Combat Cards:
- '1 Infantry Unit may Move using 3 times its normal move. If the Unit is targeted by Interrupt Fire or Stay Frosty, it does not receive a Save OR Move 1 Vehicle with +2 and 1 free 90 degree turn.'
- '1 Unit may Move with +2 and then Fire once.'
- '1 Unit may Fire during an enemy Move. This Fire must target the enemy Unit that Moved.' (Interrupt Command Card)
The remaining unpinned M4A2 Tank Unit fired at the withdrawing German Panzer IV Tank Unit ... and missed!
At this point the Americans decided not to use any more of their Command Cards, and the turn - and the battle - ended.
The result was a resounding victory for the Americans, who had not only occupied the Objective but also destroyed a Tiger Tank Unit is the process. On the other hand, the Germans had managed to destroy an American Infantry Unit.
Comments
- The addition of armoured vehicles adds another dimension to the game, and I found it even more enjoyable that my first play-test.
- Once Units get pinned, you have a devil of a job getting them going again.
- The Interrupt Command Cards are very useful, but in a solo game only by the side that goes first can use them. I suspect that this is not a problem in a normal face-to-face battle.
- I have found these rules simple to learn and use, but the results they produce are quite subtle and not predictable.