Pages

Showing posts with label Franco-Prussian War 1810. Show all posts

Thursday, 9 April 2026

Have I found a way to end my campaign map analysis paralysis? I think so!

I recently wrote about my analysis paralysis, and I got lots of useful comments and suggestions. I looked at these in detail, and in the end I decided to take my inspiration from the campaign map used by Thistlebarrow (who writes the wonderful Napoleonic Wargaming blog) ...

Thistlebarrow's Napoleonic Campaign map. It is divided up into squares.
Thistlebarrow's recent Cordova Campaign map. It is divided up into squares, each of which represents a tabletop battlefield.

... and the maps I based on the Waddington's CAMPAIGN boardgame.

The main campaign map I created that was based on the Waddington's CAMPAIGN boardgame..
The map of France.
The map of Germany
The map of Russia.
The map of Spain.
The map of Italy.
The map of Austria.

These latter maps worked well when I used them for my Franco-Prussian War of 1810 campaign and I really should have thought about using something based on them for my Belle Époque, campaign map.

I think that have now identified a way forward ... and I hope to begin preliminary work on my Belle Époque campaign map over the next couple of weeks.


Please note that the first two maps featured above are © Paul Leniston/Thistlebarrow.

Sunday, 16 June 2024

Another video has been uploaded to the YouTube channel

I have just uploaded the final video about the Franco-Prussian War of 1810 to the Wargaming Miscellany channel. It tells the story of the pursuit and destruction of the 3rd Prussian Infantry Division Gap, which is the fifth and final battle of the war.


The video can be seen using this link.

Sunday, 9 June 2024

The latest YouTube video has been uploaded

I have just uploaded the latest video about the Franco-Prussian War of 1810 to the Wargaming Miscellany channel. It tells the story of the Battle of the Leipzig Gap, which is the fourth battle of the war.


The video can be seen using this link.

Thursday, 30 May 2024

My third YouTube video has been uploaded

I must admit that I've rather caught the YouTube 'bug', and I am really enjoying putting together videos to upload to the Wargaming Miscellany channel!

The latest is the next instalment in the story of the Franco-Prussian War of 1810, and covers the twin Battles of the Northern Frontier. Because it covers two battles, it lasts just over twelve minutes, but I hope that it isn't too long. (I have been told that five minutes is the average time viewers will spend watching a YouTube video.)

I have scheduled the latest video to upload at 10.00am this morning ... and it should be available to watch by the time you read this blog post.


The video can be seen using this link.

Saturday, 25 May 2024

My second YouTube video has been uploaded

I found myself with a couple of hours on my hands this afternoon, so I decide to see if I could create a video of a 3 x 3 Portable Wargame battle report.

I chose the first battle of the Franco-Prussian War of 1810, and despite a few mistakes that I made along the way, I learned a lot and this will hopefully help me to make more and better videos in the future.


The video can be seen using this link.

Saturday, 11 February 2023

The Franco-Prussian War of 1810: The pursuit of the Prussian 3rd Division

Having been beaten at the Battle of the Leipzig Gap, the Prussian 3rd Division had fallen back to a position to the southeast of Leipzig.

A map showing the strategic situation before the battle.

It had been able to regain some of its strength by absorbing new recruits into its ranks, but it was still a lot weaker than it had been, and it was unable to outrun the French 4th Division.


Situation

The Prussian 3rd Division retreated after their defeat at the Battle of the Leipzig Gap. They were pursued by the French 4th Division who caught up with them southeast of Leipzig.

The French force was the 4e Division d’Infanterie/4th Infantry Division. It was commanded by General Torrance and comprised:

  • 13e Régiment d’Infanterie/13th Infantry Regiment (Average)
  • 14e Régiment d’Infanterie/14th Infantry Regiment (Average)
  • 15e Régiment d’Infanterie légère/15th Light Infantry Regiment (Average)
  • 16e Régiment d’Infanterie légère/16th Light Infantry Regiment (Average)
  • 4e Régiment d’Artillerie/4th Artillery Regiment (Average)
  • 4e Regiment de Cuirassier/4th Cuirassier Regiment (Average)

The Prussian force was the under-strength 3. Infanterie-Division/3rd Infantry Division. It was commanded by General von Horn and comprised:

  • 9. Infanterie-Regiment/9th Infantry Regiment (Poor; reduced to 2 SPs)
  • 10. Infanterie-Regiment/10th Infantry Regiment (Poor; reduced to 2 SPs)
  • 11. Infanterie-Regiment/11th Infantry Regiment (Poor; reduced to 2 SPs)
  • 12. Infanterie-Regiment/12th Infantry Regiment (Poor; reduced to 2 SPs)
  • 3. Artillerie-Regiment/3rd Artillery Regiment (Poor; reduced to 1 SP)

The Terrain

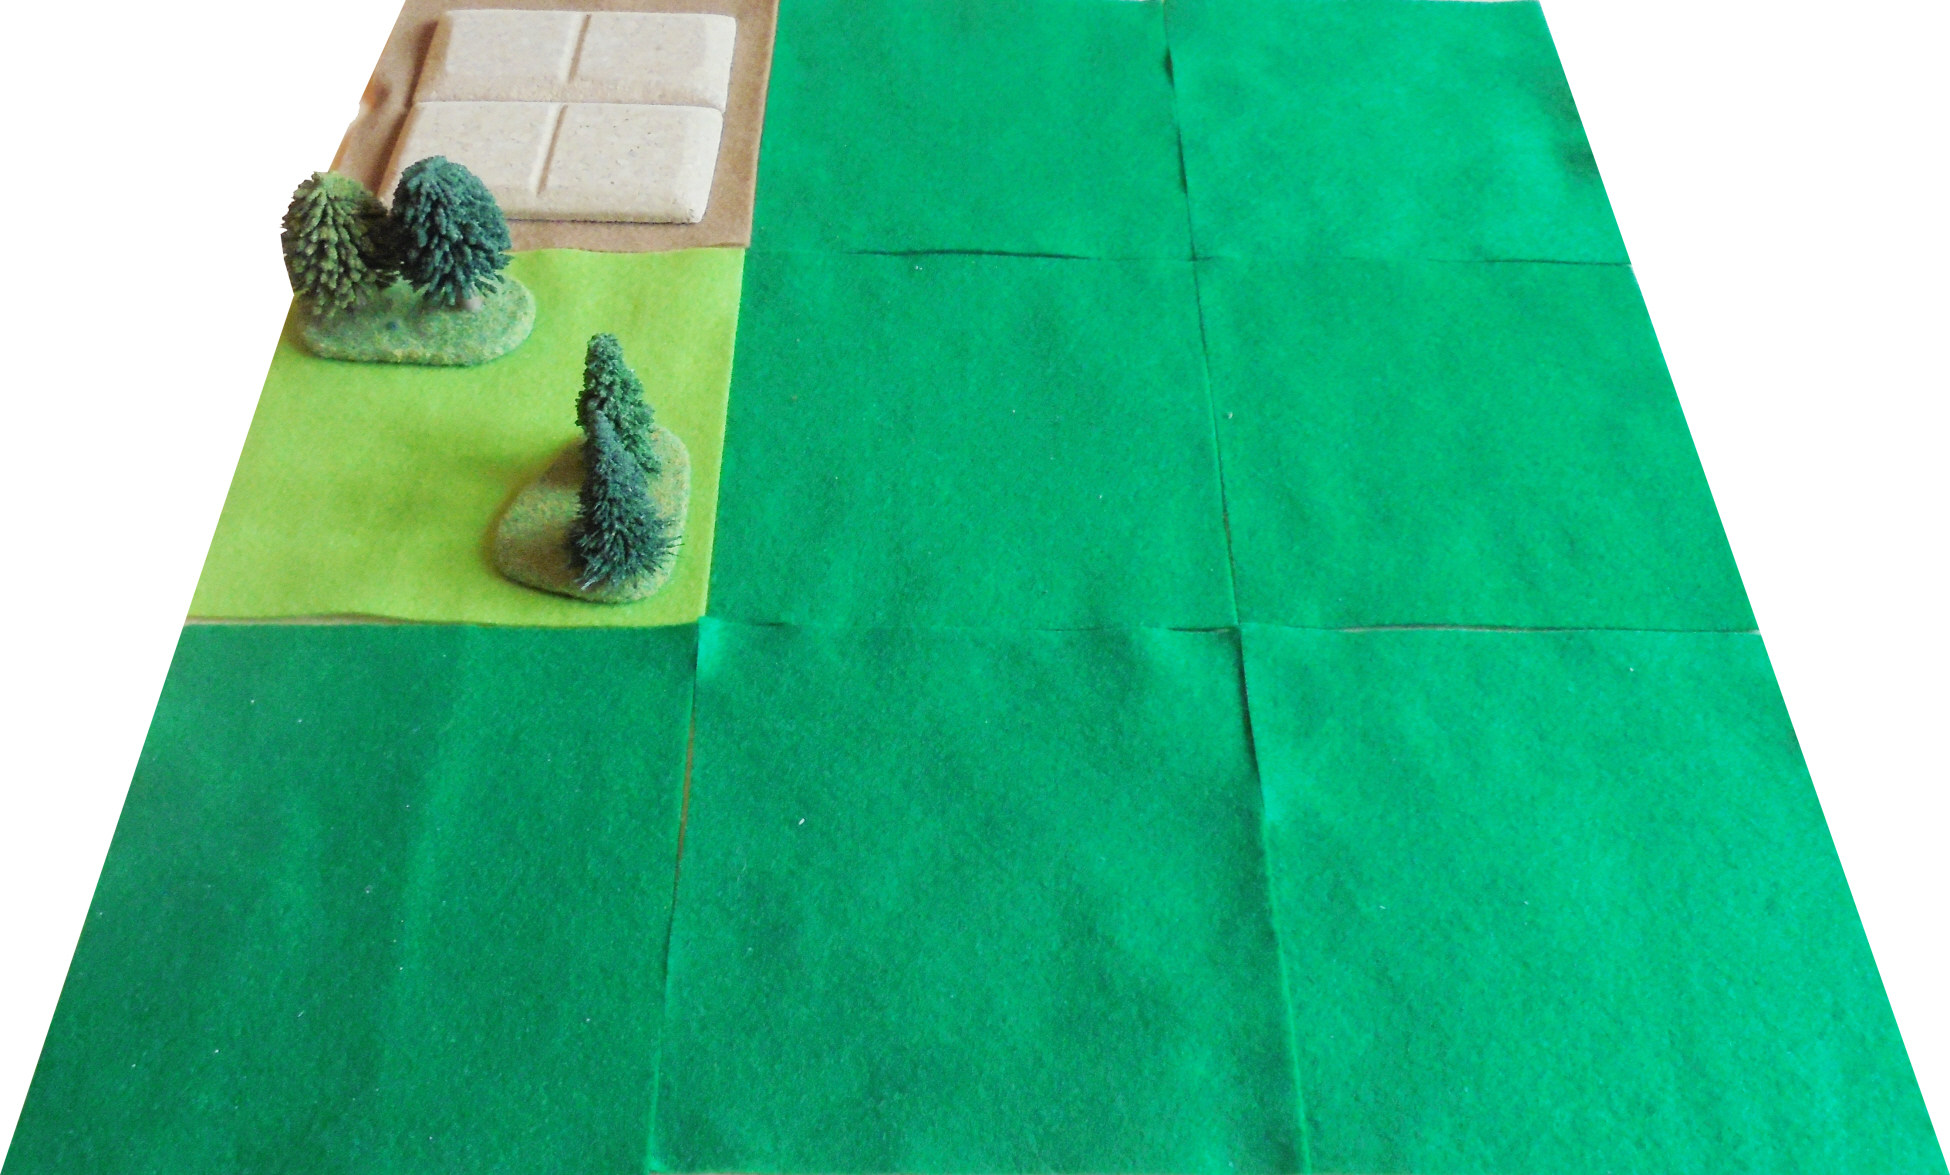
The French Reserve Area is on the left of the map and the Prussian Reserve Area is on the right.

The battlefield's terrain. The Prussian Reserve Area is nearest to the camera.

The pursuit of the Prussian 3rd Division

Initial positions

General Torrance positioned his artillery (4th Artillery Regiment) on the hill and took up a position alongside it. Behind the artillery he deployed 14th Infantry Regiment in line. In the centre he placed his two light infantry units (15th Light Infantry Regiment and 16th Light Infantry Regiment) in a contiguous column, and on his right he deployed the 13th Infantry Regiment in line with the 4th Cuirassier Regiment in line behind them.

General von Horn positioned his artillery (3rd Artillery Regiment) on his left, with the 12th Infantry Regiment in line behind them. He also chose to accompany these two units. He deployed the 19th and 11th Infantry Regiments in lone in the centre and the 9th Infantry Regiment in line on his right.

The initial positions of both sides. The Prussian 3rd Division is nearest the camera..

Turn 1

The French immediately attacked the Prussian force.

The French 4th Artillery fired at the Prussian 9th Infantry Regiment, causing them to lose 1 SP.

In the centre both the French 15th and 16th Light Infantry Regiments advanced in a single column. This gave room for the 4th Cuirassiers to change formation into column and move into the area formerly occupied by them.

On the right, the French 13th Infantry Regiment moved forward towards the Prussian 3rd Artillery and 12th Infantry Regiments.

In response, the Prussian 3rd Artillery Regiment fired at the advancing French 13th Infantry Regiment ... and missed! Likewise, in the centre the two Prussian infantry units fired at the oncoming French column and also missed!

The situation at the end of Turn 1.

Turn 2

As pressure on them increased, the Prussians responded.

The Prussian 12th Infantry Regiment advanced and fired at the French 13th Infantry Regiment, which lost 1 SP.

The Prussian 3rd Artillery Regiment also fired at the French 13th Infantry Regiment, which fell back to its original position.

In the centre, the two Prussian infantry units fired at the French column and inflicted the loss of 1 SP on both the French 15th and 16th Light Infantry Regiments.

At this point things were beginning to look good for the Prussians ... and then the French 4th Artillery Regiment fired at the already weakened Prussian 9th Infantry Regiment ... and destroyed it!

The French column continued its advance and engaged the Prussian 10th and 11th Infantry Regiments in Close Combat, inflicting the loss of 1 SP on each of the Prussian units.

The French 4th Cuirassiers moved forward onto the flank of the French column in the centre of the battlefield.

The situation at the end of Turn 2.

Turn 3

The fighting in the centre of the battlefield continued. The French 15th Light Infantry Regiment destroyed the Prussian 10th Infantry Regiment, losing 1 SP in the process. The French 16th Infantry Regiment was unable to match this achievement, but the 4th Cuirassiers charged the Prussian 11th Infantry in the flank and destroyed them!

The Prussian 3rd Artillery Regiment fired at the French 13th Infantry Regiment ... and missed.

The Prussian 12th Infantry Regiment, led by General von Horn, moved forward, and turned right, firing into the flank of the French 16th Light Infantry Regiment, which was forced to fall back.

The situation at the end of Turn 3.

Turn 4

The French 13th Infantry Regiment advance and engaged the Prussian 12th Infantry Regiment in Close Combat from the flank. The Prussians fought well and force the French 13th Infantry Regiment to fall back ... but the Prussian 12th Infantry Regiment was all but destroyed in the process.

Seeing the his remaining troops were unable to continue fighting much longer and wanting to avoid further bloodshed, General von Horn surrendered to General Torrance.

The situation at the end of Turn 4 and tat he end of the battle.

The French had lost 4 SPs and the Prussians had lost 7 SPs.

Aftermath

The destruction of the Prussian 3rd Division convinced the King of Prussia that his army could not win the war. He immediately requested an armistice whilst matters between the two nations were settled.

The Emperor of France was magnanimous in victory. In exchange for the exclusive right to buy Prussian's grain harvest for the next five years and the payment of 100,000 gold Thalers, he agreed to withdraw his troops from Prussia.

As to the original cause of the war (a Prussian leaflet that had been printed lampooning the Emperor of France), the author of the pamphlet and the printer who had printed and distributed it were encouraged by the Prussian police to emigrate as soon as possible!

Thursday, 9 February 2023

A busy day ... and there's more to come!

I had an interesting day yesterday. I was due to have an online consultation with a nurse from the Colorectal Unit at University Hospital, Lewisham, today at 1.30pm, but had a missed phone call on my mobile phone from them early yesterday morning. (For some reason they seem to think that I don't go anywhere without it. This may be true for some people, but I tend to leave mine on the hall table when I am at home and don't carry it around with me unless I am going out ... hence the fact that I didn't hear it ringing.)

I tried to return their call but after a long wait in a queue ('Your call is important to us; please hold ' ... whilst we play you appalling music) my call was put through to the Oncology Department at the wrong hospital (the Queen Elizabeth Hospital, Woolwich). I got cut off when they tried to divert my call to the right department and I had to rejoin the queue … and when I did finally get through to the right department in the right hospital (University Hospital, Lewisham), it turned out that they wanted to move my appointment from today to yesterday because the nurse who had been overseeing my progress since the removal of part of my colon and the resultant colostomy had moved to a new job. I agreed and sent a somewhat nebulous time for the new appointment from the previous 11.30am to 'sometime this afternoon'.

I’d just put the phone down when I got another call from the Queen Elizabeth Hospital … but this time it was from the Sleep Unit. Apparently, my C-PAP machine isn’t feeding data back to them via 4G and I was asked if I could take it in today at 10.00am for them to check what’s wrong. No sooner had they hung up, but they called me back. They’d made a mistake, and could I bring it in at 1.30pm today … the time when I should have been having my online consultation with the colorectal nurse!

I did manage to speak to the colorectal nurse at 2.00pm, who was very happy with my progress … and it appears that she is arranging for me to have yet another blood test and CT scan next month or possibly the month afterwards. Bearing in mind that I had a blood test last week and have another due next week, my already bruised arm will soon look like that of a fulltime 'recreational' drug abuser!

In the midst of all of the above, I had to take Sue to the dentist to have a new cap put on a tooth at 1.30pm! Whoever said that when I retired, I'd be able to sit down and put my feet up all day was mightily wrong!


The one positive thing that did happen yesterday and that was not health-related was that Gary Sheffield and I managed to fight the final battle of the Franco-Prussian War of 1810, and I shall be writing a battle report about what happened at some point over the next few days.

Wednesday, 25 January 2023

The Franco-Prussian War of 1810: 8th April to 11th April 1810

On 7th April 1810, the Prussian 3rd Division attacked the French 2nd Division to the southwest of Leipzig.

As a result of the Battle of the Leipzig Gap, the Prussians were forced to withdraw, having suffered the loss of 9 SPs to the French loses of 7 SPs.

The Prussian 3rd Division recovered 3 SPs from the Prussian Replacement Pool, which now stood at 33 SPs. The French 2nd Division recovered 3 SPs from the French Replacement Pool, which now stood at 41 SPs.

Turn 20: Saturday 8th/ Sunday 9th April 1810

As a result of their defeat in the Battle of the Leipzig Gap, the Prussian 3rd Division fell back to P9.

  • Red 8: French moved 4th to O11 (1)
  • Red 5: French moved 4th to O10 (1)
  • Black 7: Prussians moved 3rd to Q9 (1)

Turn 21: Monday 10th April/Tuesday 11th April 1810

  • Red 9: French moved 4th to P10 (1)
  • Red 7: French moved 4th to Q10 (1)
  • Black 9: Prussians moved 2nd to P9 (1)

The French 4th Division had moved into a square that was adjacent to that occupied by the weakened Prussian 3rd Division and attacked them.

Wednesday, 18 January 2023

The Franco-Prussian War of 1810: The Battle of the Leipzig Gap

After a much, much longer than expected break (the last blog post about this campaign was in September 2022!), I can finally write a battle report about the most recent battle of the Franco-Prussian War of 1810 that Gary Sheffield and I managed fight, the Battle of the Leipzig Gap.


Situation

In the south, The French had moved three divisions (2e, 3e, and 4e Divisions d'Infanterie) into Prussian. Two of them (the 2e and 3e Divisions d'Infanterie) were within striking distance of Leipzig, and in response, the Prussian 3. Infanterie-Division/3rd Infantry Division had moved forward to block their advance. This brought them into contact with the French 2nd Division near to the Leipzig Gap.

The French force was the 2e Division d’Infanterie/2nd Infantry Division. It was commanded by General Lapointe and comprised:

  • 5e Régiment d’Infanterie/5th Infantry Regiment (Average)
  • 6e Régiment d’Infanterie/6th Infantry Regiment (Average)
  • 7e Régiment d’Infanterie légère/7th Light Infantry Regiment (Average)
  • 8e Régiment d’Infanterie légère/8th Light Infantry Regiment (Average)
  • 2e Régiment d’Artillerie/2nd Artillery Regiment (Average)
  • 2e Regiment de Hussards/2nd Hussar Regiment (Average)

The Prussian force was the 3. Infanterie-Division/3rd Infantry Division. It was commanded by General von Horn and comprised:

  • 9. Infanterie-Regiment/9th Infantry Regiment (Average)
  • 10. Infanterie-Regiment/10th Infantry Regiment (Average)
  • 11. Infanterie-Regiment/11th Infantry Regiment (Average)
  • 12. Infanterie-Regiment/12th Infantry Regiment (Average)
  • 3. Artillerie-Regiment/3rd Artillery Regiment (Average)
  • 3. Dragoner-Regiment/3rd Dragoon Regiment (Average)

The Terrain

The French Reserve Area was on the left of the map and the Prussian Reserve Area was on the right.


The Battle of the Leipzig Gap

Initial positions

General Lapointe deployed his artillery (2nd Artillery Regiment) on the hill on his left flank and his two infantry regiments (5th and 6th Infantry Regiments) in contiguous columns in the centre, with his two light infantry regiments (7th and 8th Light Infantry Regiments) in contiguous columns on his right flank. He kept his cavalry (the 2nd Hussars) is the Reserve Area. He took up position with his artillery.

General von Horn deployed his artillery (3rd Artillery Regiment) opposite the French artillery. In the centre he deployed the 9th Infantry Regiment in line and the 10th Infantry Regiment in column, and on the left he placed the 11th Infantry Regiment in line and the 12th Infantry regiment in column. Like his opponent, he positioned himself with his artillery.

Turn 1

The French did not wait to be attacked but took the initiative.

The two contiguous infantry columns moved forwards (i.e. the 5th and 6th Infantry Regiments in the centre and the 7th Light and 8th Light on the left) with the left-hand column taking possession of the hill.

The French artillery fired ineffectually at the opposing Prussian artillery and the 2nd Hussars advanced onto the battlefield from the Reserve Area.

In response, the Prussian artillery fired at the French column in the centre and hit it, causing both regiments to lose 1 SP.

The situation at the end of Turn 1.

Turn 2

Maintaining the initiative, the French artillery continued firing at the Prussian artillery opposite them, hitting them and causing the lost of 1 SP. Despite being collocated with his artillery, General von Horn escaped injury.

In the centre of the battlefield, the front rank of the contiguous French infantry column fired at the Prussian 9th Infantry Regiment, devastating them with the loss of 2 SPs.

The French infantry on the hill also fired at the Prussian infantry in front of them but failed to cause any casualties.

In reply, the Prussian 9th Infantry fired at the oncoming French column, forcing the French 5th and 6th Infantry Regiments to fall back.

The Prussian artillery hoped to exploit this by firing at the column formed by the French 5th and 6th Infantry Regiments, but their fire was too inaccurate to cause any casualties.

The situation at the end of Turn 2.

Turn 3

Despite the recent setback, the French retained the initiative, and their artillery fired at the Prussian artillery, destroying it! Luckily, General von Horn was untouched and remained in command of his division.

The French 5th and 6th Infantry Regiments advanced to their former position and fired at the Prussian 9th Infantry Regiment, causing it to fall back into the Reserve Area.

The right-hand French contiguous column on the hill advanced and engaged the Prussian 11th Infantry Regiment in Close Combat. Although the fighting was fierce, neither side was able to prevail.

The French 2nd Hussar Regiment moved forward to support the French column in the centre of the battlefield.

In response, the 10th Prussian Infantry Regiment moved forward and engaged the French 5th Infantry Regiment, in Close Combat, losing 1 SP in the process.

In addition, the Prussian Cavalry charged forward from the Reserve Area and engaged the central French column in Close Combat, but the French stood their ground and suffered no casualties.

The Close Combat on the Prussian left flank continued, resulting in the Prussian 11th Infantry Regiment losing 2 SPs.

The situation at the end of Turn 3.

Turn 4

The French 2nd Hussars, seeing General von Horn isolated on top of the hill formerly occupied by the Prussian artillery, set off to capture him, but he managed to escape into the Prussian Reserve Area

The Close Combat in the centre of the battlefield continued, and the Prussian 3rd Dragoons lost 1 SP, and on the Prussian left flank the continuing Close Combat there saw the Prussian 11th Infantry forced to retreat into the Prussian Reserve Area.

The Prussian 9th Infantry, accompanied by General von Horn, moved forward from the Reserve Area and fire at the French 2nd Hussar Regiment, causing them to lose 1 SP.

The Prussian 12th Infantry Regiment swung onto the flank of the right-hand French column, and in conjunction with fire from the returned 11th Infantry Regiment, forced the French to retire to their former positions atop the hill.

In the centre, the intense Close Combat continued and saw the Prussian 10th Infantry Regiment forced to retired to their Reserve Area whilst both the French 5th and 6th Infantry Regiments suffered the loss of 1 SP.

The situation at the end of Turn 4.

Turn 5

At this point, General von Horn erroneously thought that the tide of battle was beginning to swing his way. He ordered the Prussian 12th Infantry Regiment to attack the French column formed by the 5th and 6th Infantry Regiments ... but in the resulting Close Combat the 12th Prussian Infantry Regiment lost 1 SP.

At the same time, the depleted Prussian cavalry continued to engage the French 5th and 6th Infantry Regiments in Close Combat and were destroyed in the process.

The Prussian 11th Infantry Regiment fired at the French 7th and 8th Light Infantry, hitting them, and causing them to each lose 1 SP.

The Prussian 9th Infantry Regiment fired at the French 2nd Hussars, but despite being collocated with their commanding General, they caused no casualties.

In return, the French cavalry charged the 9th Prussian Infantry, causing them to retreat into the Prussian Reserve Area. General von Horn fled with them, leaving the French in command of the battlefield.

General La Pointe allowed the remaining Prussian troops to retreat from the battlefield. His troops were tired and depleted from the intense fighting that had taken place, and his cavalry were unable to harass the remaining French troops.

The situation at the end of Turn 5.

The battle casualties were a lot more evenly balanced that might have been expected. The Prussians lost 9 SPs and the French lost 7 SPs ... but the Prussians had lost yet another battle and would be hard-placed to replace their losses whereas the French had other divisions nearby who could exploit this French victory.

Thursday, 1 September 2022

The Franco-Prussian War of 1810: 15th March to 7th April 1810

The battles (the Battles of the Northern Frontier) between the French Imperial Guard and 1st Divisions and Prussian Guard and 1st Divisions had been fought. Both the Prussian Divisions were beaten and suffered the loss of 8 SPs and 10 SPs respectively. The French Divisions lost 1 SP and 4 SPs respectively.

As a result of the Battles of the Northern Frontier, the Prussian Guard Division fell back to O6 and the Prussian 1st Division fell back to N4

The French Imperial Guard Division recovered 1 SP from the French Replacement Pool, which now now stood at 42 SPs. The division had returned to full strength. The French 1st Division recovered 2 SPs from the French Replacement Pool, which now stood at 40 SPs.

The Prussian Guard Division recovered 3 SPs from the Prussian Replacement Pool, which now stood at 45 SPs. The Prussian 1st Division recovered 4 SPs from the Prussian Replacement Pool, which now stood at 41 SPs.

Turn 8: Thursday 15th March/Friday 16th March 1810

  • Black 8: Prussians moved 1st to O4 (1)
  • Black 10: Prussians moved G to P6 (1)
  • Black 10: Prussians moved G to Q6 (1)

Turn 9: Saturday 17th March/Sunday 18th March 1810

  • Red Queen: French moved IG to O7 (3)
  • Black Ace: Prussians moved 2nd to N10 (1), 3rd to S8 (1), 4th to S5 (1), and G to R6 (1)
  • Red 5: French moved 3rd to I9 (1)

The French 1st Division recovered 1 SP from the French Replacement Pool, which now stood at 39 SPs.

The Prussian Guard Division recovered 3 SPs from the Prussian Replacement Poll, which now stood at 38 SPs. The Prussian 1st Division recovered 3 SPs from the Prussian Replacement Pool, which now stood at 35 SPs.

Turn 10: Monday 19th March/Sunday 20th March 1810

  • Red 8: French moved 4th to K11 (1)
  • Black 2: Prussians moved G to R5 (1)
  • Black King: Prussians moved 2nd to P8 (4) and G to R4 (1)

Turn 11: Tuesday 21st March/Wednesday 22nd March 1810

  • Black 5: Prussians moved 3rd to R8 (1)
  • Black 9: Prussians moved 3rd to Q8 (1)
  • Red 3: French moved 1st to N5 (1)

The French 1st Division recovered 1 SP from the French Replacement Pool, which now stood at 38 SPs. The division had returned to full strength.

The Prussian Guard Division recovered 2 SPs from the Prussian Replacement Poll, which now stood at 35 SPs. The Prussian 1st Division recovered 3 SPs from the Prussian Replacement Pool, which now stood at 32 SPs. Both divisions had returned to full strength.

Turn 12: Thursday 23rd March/Friday 24th March 1810

  • Black 6: Prussians moved 3rd to Q9 (1)
  • Red Ace: French moved IG to O6 (1), 2nd to K10 (1), 3rd to I10 (1), and 4th to L11 (1)
  • Red 4: French moved IG to P6 (1)

Turn 13: Saturday 25th March/Sunday 26th March 1810

  • Black 7: Prussians moved G to S4 (1)
  • Black 8: Prussians moved 4th to R5 (1)
  • Red 5: French moved 2nd to L10 (1)

Turn 14: Monday 27th March/Tuesday 28th March 1810

  • Black Joker: A D6 die score of 2 meant that the Prussians could not move any more of their formations for four game turns (i.e., until Turn 19)
  • Red 8: French moved 2nd to M10 (1)
  • Red 7: French moved 3rd to J10 (1)

Turn 15: Wednesday 29th March/Thursday 30th March 1810

  • Red 9: French move 4th to M11 (1)
  • Red 3: French moved 3rd to K10 (1)
  • Red 4: French moved 2nd to N10 (1)

Turn 16: Friday 31st March/Saturday 1st April 1810

As it is the end of a month, both sides received recruits to their Replacement Pools. The French received 6 SPs (2D6 scores of 3 and 3) and the Prussians received 4 SPs (2D6 scores of 2 and 2). The French Replacement Pool now stood at 44 SPs (38 + 6 = 44) and the Prussian Replacement Pool now stood at 36 SPs (32 + 4 = 36).

  • Black Jack: Discarded
  • Black 5: Discarded
  • Black 7: Discarded

Turn 17: Sunday 2nd April/Monday 3rd April 1810

  • Red 2: French moved 3rd to L10
  • Red Joker: A D6 die score of 4 meant that the French could not move any more of their formations for one game turn (i.e., until Turn 19)
  • Black 3: Discarded

Turn 18: Tuesday 4th April/Wednesday 5th April 1810

  • Black 6: Discarded
  • Black 2: Discarded
  • Red Queen: Discarded

At this point, all the playing cards had been turned over and the pack was shuffled.

Turn 19: Thursday 6th April/Friday 7th April 1810

  • Red King: French moved 3rd to N8 (4) and 4th to N11 (1)
  • Red 8: French moved 2nd to N9 (1)
  • Black Jack: Prussians moved 3rd to O9 (2)

The Prussian 3rd Division had moved into a square that was adjacent to that occupied by the French 2nd Division and were attacked by them.

Tuesday, 30 August 2022

The Franco-Prussian War of 1810: The Battle of the Northern Frontier (Part 2: The southernmost battle)

On Thursday afternoon Professor Gary Sheffield and I were able to fight the second and third battles of this campaign online via Skype. On this occasion he took command of the French (as General Lucas in the first battle and General Dupont in the second battle) and I commanded the Prussians (as General von Kluck in the first battle and General Lettow in the second battle). We used the revised draft of my FP3x3NapPW rules and fought the battle on a 3 x 3 grid of 6-inch squares.


Situation

Two French divisions (1st and Imperial Guard Divisions) had crossed the northern frontier between France and Prussia. They were faced respectively by two Prussian divisions (1st and Guard Divisions).

The southernmost French force was the Imperial Guard Division. It was commanded by General Dupont and comprised:

  • 1st Guard Grenadiers (Elite)
  • 2nd Guard Grenadiers (Elite)
  • 1st Guard Chasseurs (Elite)
  • 2nd Guard Chasseurs (Elite)
  • Guard Horse Artillery (Elite)
  • Guard Lancers (Elite)

The Prussian force was the Guard Division. It was commanded by General Lettow and comprised:

  • 1st Guard Infantry (Elite)
  • 2nd Guard Infantry (Elite)
  • 3rd Guard Infantry (Elite)
  • 4th Guard Infantry (Elite)
  • Guard Artillery (Elite)
  • Guard Dragoons (Elite)

The Terrain

The French Reserve Area was on the left of the map and the Prussian Reserve Area was on the right.


The Battle of the Northern Frontier: The southernmost battle

Initial positions

General Lettow deployed his entire force on the battlefield. In the centre he placed himself alongside the Prussian artillery and cavalry units, and placed two infantry units on either flank.

In response, General Dupont deployed a double-strength column of infantry unit on his left flank, an infantry unit in the centre, and his artillery and a further infantry unit on the hill on his right flank. He kept his remaining troops (a cavalry unit) in the French Reserve Area.

Turn 1

The French attack began with the French artillery unit firing at the foremost right-hand Prussian infantry unit ... which it hit, causing the loss of 1 SP.

The column of French infantry moved forward towards the already-weakened foremost right-hand Prussian infantry unit, whilst the other two French infantry units advanced towards the Prussian positions.

The Prussian artillery unit fired at the French infantry unit directly in front of them, and caused them to lose 1 SP.

This was followed up be the Prussian cavalry unit charging the French infantry unit in the centre ... but they were effectively beaten off with the loss of 1 SP.

The foremost left-hand Prussian infantry unit moved into the wood to fight the French infantry unit that was in there, but they lost the encounter and were forced to fall back.

Turn 2

The French artillery unit fired at the Prussian artillery unit and missed. The column of French Infantry advanced into contact with the weakened foremost right-hand Prussian infantry unit and destroyed it!

In the centre the French infantry unit continued its fight with the Prussian cavalry unit, and was forced to withdraw.

The French infantry unit in the woods fired at the foremost Prussian infantry unit, but their fire was ineffective.

The Prussian cavalry unit withdrew to the Prussian Reserve Area to regroup and recover. This enabled the Prussian artillery unit to fire at the French infantry unit in front of them, but unfortunately they missed.

Turn 3

The Prussian artillery unit fired at the French artillery unit and caused it to lose 1 SP.

The right-hand Prussian infantry unit charged the column of French infantry, and forced them to fall back.

Once again, the foremast Prussian infantry unit attempted to dislodge the French infantry unit in the wood ... and failed yet again and was forced to retreat.

The column of French infantry took the opportunity to regroup and recover before making any further attacks.

The French artillery unit fired at the Prussian artillery unit, with the result that the Prussian artillery unit lost 1 SP and General Lettow was killed!

The French infantry unit in the wood fired at the foremost left-hand Prussian infantry unit, and inflicted the loss of 1 SP.

Turn 4

The French column of infantry charged forward and engaged the right-hand Prussian infantry unit, causing it to lose 1 SP and to fall back into the Prussian Reserve Area.

The French artillery unit fired at the Prussian artillery unit, but missed it.

At this point, the French cavalry unit moved onto the battlefield, and the French infantry unit in the wood fired at the foremost left-hand Prussian infantry unit, but to no effect.

Fearing that the French were about to win the battle, the Prussian cavalry unit charged out of the Prussian Reserve Area and engaged the French column of infantry. Unfortunately, they were already weakened by earlier losses, and were destroyed in the process, leaving the column of French infantry in a position to move into the Prussian Reserve Area once they had regrouped and recovered.

At this point it was obvious that the French had won the battle, and the remains of the leaderless Prussian Guard Division withdrew.

The Prussian position was not good. They had lost a further 10 SPs and had the French had only lost 4 SPs. When combined with losses in the other battle that was fought, the Prussians had lost a total of 18 SPs (the equivalent of an entire division!) whereas the French had only lost 5 SPs.


Afterthoughts

It was obvious that the use of large columns of determine infantry was a battle winner, even when their opponents were Elite troops. As a result, the rules need to be revised slightly to reduce the advantage such columns currently enjoy, but to ensure that when properly combined with artillery and cavalry attacks, they should be able to overcome almost all enemy units they engage in combat.