Pages

Showing posts with label The Mucking Flats & Fobbing Marsh Light Railway. Show all posts

Wednesday, 5 August 2026

New YouTube video: Running trains on my Mucking Flats & Fobbing Marsh Light Railway layout

Back in late June, I wrote a blog post about the generous gift of 009/HO9 locomotives and rolling stock I was given by Richard Watson.

Once I was able to use my toy/wargame room again, I decided that as soon as an opportunity arose, I would set up my Mucking Flats & Fobbing Marsh Light Railway layout and run as many of the locomotives and rolling stock as I could. The results can be seen on the following YouTube video.

One of the locos proved a little recalcitrant and needed a prod to get it going (hence the appearance of the Hand of Bob at one point!), but once it was properly run-in, it flew around the track. Some of the longer rolling stock – particularly those that did not have twin bogies – had problems with the tight curves on the layout and proved impossible to run. I will have to leave these until I build a bigger layout.

My favourite locomotive and rolling stock is the Minitrains 0-4-0 Fiddletown & Copperopolis tender locomotive and carriages ... and although they are a bit large for the layout, I hope to run them regularly on it until I can build a suitably larger one.

The video lasts approximately five and a half minutes and can be found here on the Wargaming Miscellany YouTube channel

.

Sunday, 28 June 2026

A glorious gift!

One of the people I met as a result of joining the Dice on the Hill games group at Shrewsbury House Community Centre was Richard Watson. He has been one of the duty managers of the community centre for some years and is both a wargamer and a model railway enthusiast. We have chatted about both hobbies and last year we managed to fight three wargames:

Richard knows that I am particularly interested in 009/HO9 model railways and that I have a small layout ... the Mucking Flats & Fobbing Marsh Light Railway (MF&FMLR).

My Mucking Flats & Fobbing Marsh Light Railway (MF&FMLR) model railway layout.

Richard has been unwell for some time, and it was a great pleasure to see him at Shrewsbury House last week ... and not just because he had a bag full of bits and pieces for me!

Whilst he was off work, he had been having a bit of a clear out, and had selected some of his surplus 009/HO9 model railway locomotives and rolling stock that he thought that I would find useful. He was right ... and I am now the proud possessor of the following:

Two Liliput/Bachmann Fasslwagen Zillertalbahn (Barrel wagon, Zillertal Railway)

A Liliput/Bachmann Aussichtswagen Museumwagen (Observation carriage/museum carriage)

A Liliput/Bachmann Personnelwagen 2.Klasse (Second-class passenger carriage)

Two Playcraft open-sided passenger carriages (that were known as 'toast racks')

Four Minitrains dumper wagons

A Minitrains Diesel 0-4-0 Locomotive

A Liliput 0-4-0 Diesellokomotive Zillertalbahn (Diesel locomotive, Zillertal Railway)

A Minitrains 0-4-0 Fiddletown & Copperopolis tender locomotive with four different carriages plus

A Minitrains Fiddletown & Copperopolis baggage wagon


The Fiddletown & Copperopolis railway was the fictional creation of cartoonist Carl Falberg. A compilation of his Fiddletown & Copperopolis cartoons was published as Fiddletown and Copperopolis - The life and times of an uncommon carrier in 1960, the cartoons having orignially appeared in issues of the RAILROAD magazine. The book was republished in 1985, 1998, 2003, and 2012.

Sunday, 11 February 2024

The MF&FMLR model railway project: Almost there!

I understand that model railways – somewhat like wargame collections – are never quite finished, but that they reach a point where they are almost there ... and that is the situation with regard to the Mucking Flats & Fobbing Marsh Light Railway!

Click on the image to enlarge it.

Some parts of the layout look a bit bare, and I want to add some bushes and scrub as well as static grass to make it look a little less like the centre is a large lawn surrounding a series of muddy/marshy pools, but I can now do that at my leisure. I also want to paint the edge of the frame matt black and add a back scene, but in the meantime, I can run my various narrow-gauge 0-4-0 and 0-6-0 locomotives and rolling stock around it whenever the mood takes me.

Tuesday, 23 January 2024

The MF&FMLR model railway project: The Mucking Battery or Fort Bean (Part 5)

After I had finished my model battery/fort, I realised that I had no way to secure it to my railway layout so that when I wasn’t using my layout, I could store it.

After giving it so thought, I remembered that Arthur Harman (also known as Arthur1815) has asked if my battery/fort was going to have an earthen glacis. I gave it some thought … and came up with the following solution.

As the basis of my glacis, I decided to use a section of cork pot stand that l bought some time ago from IKEA. I used the bottom part of the wooden box that I had used as the basis of my battery/port as a template to draw the inner edge of my glacis ...

....and then used the line I had drawn around the box to trim the cork to the rough shape that I wanted.

Using the line as my guide, I carefully cut out the shape of the battery/fort ...

... and when I had done that I checked that the model that I had made fitted inside the glacis.

Because cork is quite fragile and subject to break easily, I stuck my glacis onto a sheet of very thin plywood using PVA glue.

Once the PVA glue had dried, I then gave the inside edge of the glacis two coats of PVA to help stabilise the otherwise crumbly cork.

Using a sharp knife and sandpaper, I then shaped the front and sides of the glacis into a slope ...

... and then gave the front and sides of the glacis two coats of PVA to seal the surface.

I followed this with two coats of the same paint that I had used to paint the layout baseboard (Johnstone's Toasted Beige matt emulsion paint).

Once the paint was dry, I used PVA glue to flock the glacis with Noch Spring Meadow (50210) static grass.

I then trimmed off the excess thin plywood and tested to see if my battery/fort fitted ...

... and then glued the glacis into place on my layout.

In the near future I will apply flock to the places where the plywood is still visible in order to blend the glacis in with the surrounding terrain on the layout.

Friday, 19 January 2024

The MF&FMLR model railway project: The Mucking Battery or Fort Bean (Part 4)

Once this stage was completed, the wooden parts of the battery/fort were given two coats of PVA to seal the surface before the whole thing was painted in the same paint scheme as the Brennan Torpedo Launching Station.

The floor of the fort/battery was then flocked with fine granules of natural cork.

The Mucking Battery (which was also known as Fort Bean in honour of its builder) was complete and able to take its place on my layout.

The figures are somewhat underscale Essex Miniatures 15mm ones, but they give some idea what the battler/fort would look like when in operation.

Wednesday, 17 January 2024

The MF&FMLR model railway project: The Mucking Battery or Fort Bean (Part 3)

It was at this point that I realised that the ends of the gun barrels were rather too low and close to the wall of the fort/battery, and I corrected this by adding two further small circles of plywood to the pivots ...

... and to the gun mountings.

As a result of these small changes, the gun barrels now cleared the wall of the fort.battery.

The next stage was to cut an entrance to the fort/battery in its rear wall ...

... and to add some ready-use ammunition lockers made from small blocks of basswood.

I then cut about a quarter of an inch from the end of each of the nails in the gun mountings and checked that the guns fitted.

Tuesday, 16 January 2024

The MF&FMLR model railway project: The Mucking Battery or Fort Bean (Part 2)

Whilst the PVA glue used to construct the pivots was drying, I began work on the guns and mountings. Luckily, I had two old resin kits of Italian Cannone da 149/35 A that I was able to use as a basis for my guns.

The real gun was slightly less than six-inches in calibre but was close enough for my needs. I cut the existing trail down to length and cleaned up the resin castings. To these I added two small 1-inch nails and two small circles of plywood and drilled small holes through the centre of the latter.

I then drilled a small hole at the breech end of the gun trails ...

... and using Araldite epoxy resin glue, I glue the nails through the trails.

(These nails were intended to act as pins around which the guns would be able to pivot once they were in position in the completed battery/fort.)

Once the epoxy resin glue had cured, I reinforced the join with small pieces of basswood that were glued in place with Superglue.

I then glued the barrels of the guns in place using Superglue.

I then used Superglue to glue a circle of plywood under each gun's trail, with the nail going through the centre of the circle of plywood.

Once I was sure that the Superglue was dry, I offered up the completed guns and mountings to the pivot points.

Monday, 15 January 2024

The MF&FMLR model railway project: The Mucking Battery or Fort Bean (Part 1)

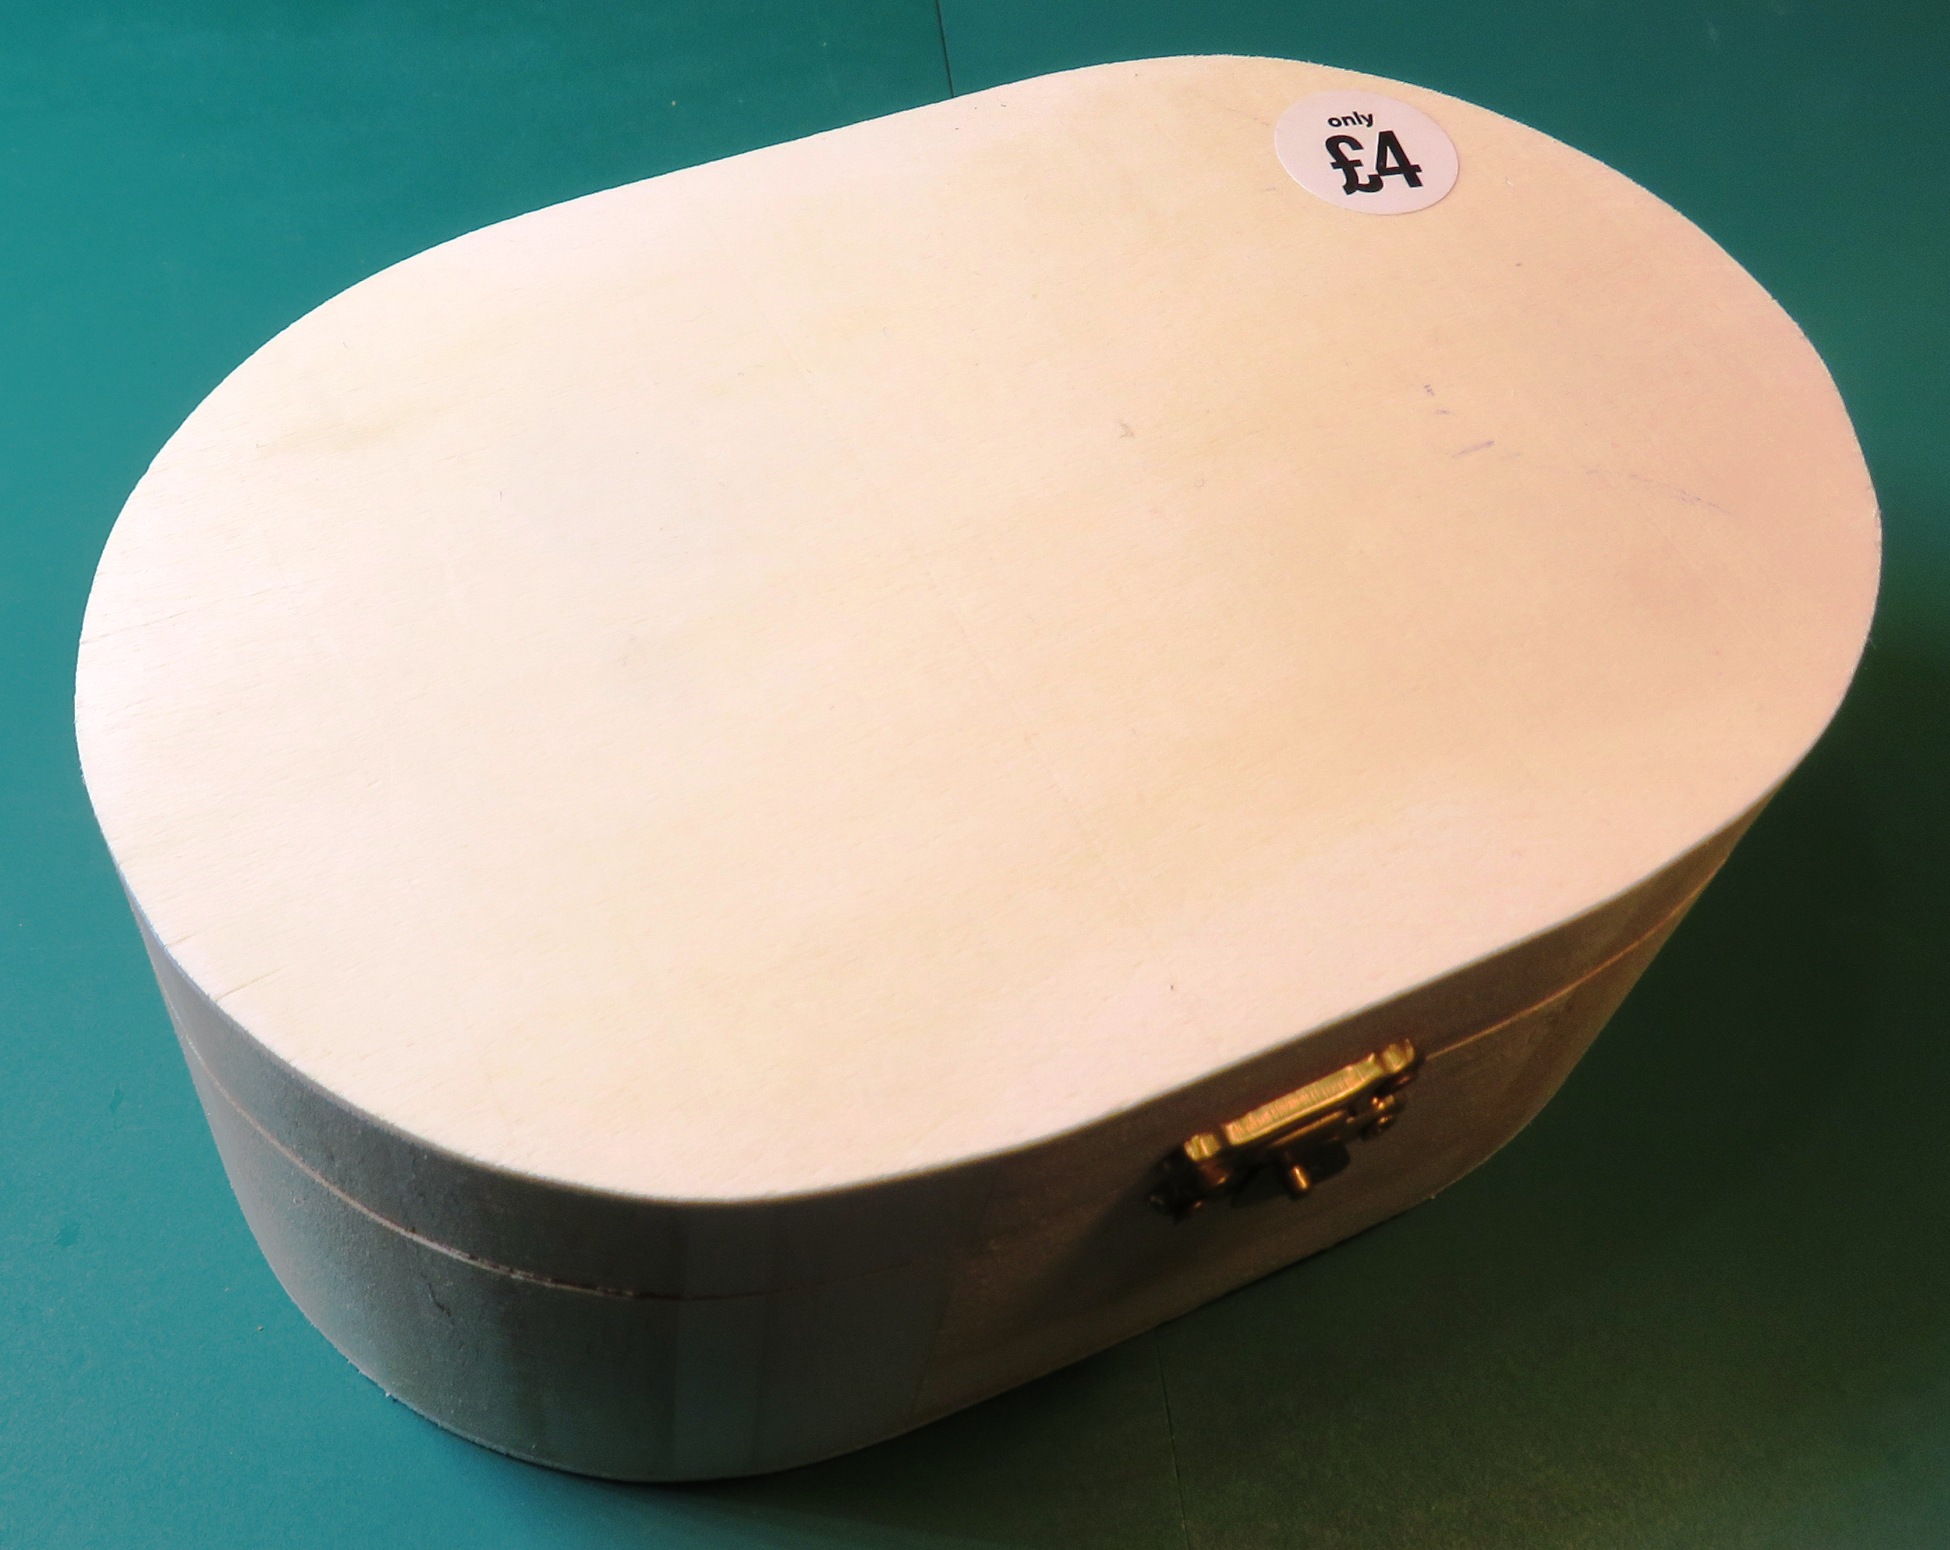
Like the Brennan torpedo launching station, the Mucking Battery (which was also known as Fort Bean) began life as a wooden box from THE WORKS. In this case it was a large oval jewellery box that cost me £4.00.

I removed the lid from the box and put the bottom part to one side. I then filled in the screw holes with a mixture of PVA and fine sawdust.

On the bottom I marked and drilled two holes 50mm from each end of the centreline.

I then created the two gun mountings, starting with the pivots. These were made by three small hexagons of thin plywood, topped with a small circle of plywood.

I drilled a small hole though each one before using PVA glue to glue them into position.

(Please note that I used a small 1-inch nail pushed up through each of the holes I had drilled to act as a guide and to make sure that the pieces making up each pivot were correctly aligned.)